Professional video production requires systematic workflow management from initial concept through final delivery. Whilst creative vision drives compelling content, organised processes ensure projects complete on time, within budget, and to professional standards. This comprehensive guide walks through the complete video production workflow used by professional production companies and successful content creators.
Phase One: Pre-Production Planning
Pre-production determines project success more than any other phase. Thorough planning prevents expensive mistakes, reduces shooting time, and ensures all stakeholders share a common vision. Professional productions invest substantial time in pre-production, with major commercial projects spending weeks planning for days of shooting.
Creative Brief and Concept Development
Every project begins with a creative brief defining objectives, target audience, key messages and deliverable specifications. For client work, the brief documents client expectations, preventing scope creep and misunderstandings. For personal projects, written briefs clarify vision and maintain focus throughout production.
Concept development translates brief objectives into creative approaches. Brainstorm multiple concepts before committing to one direction. Consider how visual style, pacing, music and narrative structure serve the core message. Create mood boards combining reference images, colour palettes and typography to communicate visual direction.
Scriptwriting and Storyboarding
Scripts provide the blueprint for video production. Even documentary-style content benefits from scripted key messages and interview questions. Narrative content requires detailed scripts specifying dialogue, action and scene descriptions. Format scripts professionally using industry-standard software like Final Draft or free alternatives like Celtx.
Storyboards visualise the script, planning camera angles, movements and shot composition. Simple stick-figure storyboards prevent expensive mistakes and communicate vision to crew members. Digital storyboarding apps like Storyboarder streamline the process whilst maintaining professional standards.
Location Scouting and Permits
Location selection dramatically impacts production value and logistical complexity. Scout locations in person rather than relying on photographs. Assess lighting conditions at planned shooting times, identify power access points, and measure acoustic properties. Photograph locations from multiple angles for pre-visualisation and crew briefings.
Secure necessary filming permits well in advance. Public spaces often require permits from local councils. Private locations need written permission from property owners. Some locations charge substantial fees whilst others grant free access. Factor permit costs and approval timelines into production schedules.
Equipment and Crew Planning
Create detailed equipment lists based on shot requirements. Specify camera bodies, lenses, lighting equipment, audio gear and support equipment. Include backup equipment for critical items. For rental equipment, book well in advance and collect the day before shooting to allow equipment familiarisation and testing.
Assemble appropriate crew based on project scope. Solo creators handle all roles but sacrifice efficiency and creative perspective. Professional productions employ specialised crew including director, director of photography, camera operators, sound recordists, gaffers and production assistants. Define roles clearly and communicate expectations before shoot day.
Shot Lists and Shooting Schedule
Shot lists break scripts into individual camera setups, specifying framing, camera movement and technical requirements. Detailed shot lists prevent forgotten coverage and streamline shooting efficiency. Group shots by location and setup to minimise equipment moves and lighting changes.
Shooting schedules organise shot lists by day and time, accounting for location logistics, talent availability and lighting conditions. Build buffer time for unexpected delays. Share schedules with all crew and talent, including call times, locations and contact information.
Phase Two: Production
Production day transforms planning into captured footage. Thorough pre-production allows production to proceed smoothly, but flexibility remains essential as unexpected challenges arise.
Camera Settings and Picture Profiles
Establish camera settings before shooting begins. Select appropriate frame rate for project requirements: 24fps for cinematic look, 25fps for UK broadcast, 30fps for web content, or higher frame rates for slow motion. Choose resolution based on delivery requirements and post-production needs.
Configure picture profiles to maximise dynamic range and post-production flexibility. Log profiles like S-Log, C-Log or V-Log capture maximum dynamic range but require colour grading. Standard profiles provide pleasing images straight from camera but offer less grading flexibility. Choose based on post-production capability and timeline.
Exposure and White Balance
Expose for highlights in high-contrast scenes, allowing shadow detail to be lifted in post-production. Overexposed highlights cannot be recovered. Use zebras, false colour or waveform monitors to ensure critical highlights remain within recordable range.
Set custom white balance for accurate colour reproduction. Auto white balance shifts between shots, creating inconsistent colour in edited sequences. Set white balance manually using a grey card under prevailing lighting conditions. For mixed lighting scenarios, balance for the dominant source and gel other sources to match.
Audio Recording Best Practices
Audio quality separates professional from amateur production. Use external microphones rather than camera-mounted options whenever possible. Lavalier microphones provide consistent voice recording for interviews and dialogue. Shotgun microphones offer flexibility for various shooting situations.
Monitor audio through headphones throughout recording. Camera meters provide level indication but cannot assess audio quality. Listen for wind noise, clothing rustle, electrical interference and background sounds. Record room tone at each location for audio editing and noise reduction.
Set recording levels conservatively, peaking at -12dB to -6dB to prevent clipping whilst maintaining good signal-to-noise ratio. Record safety tracks at lower levels if equipment supports multi-track recording. Use external recorders for critical audio to avoid camera preamp limitations.
Capturing B-Roll and Cutaways
B-roll footage provides editing flexibility and visual interest. Capture establishing shots, detail shots, and relevant action beyond primary subject coverage. Shoot B-roll at different frame rates for editing versatility. Maintain consistent picture profile and white balance with main footage.
Hold shots longer than feels necessary. Ten seconds minimum per shot allows comfortable editing, whilst important shots warrant twenty to thirty seconds. Movement shots require additional time to establish, execute and settle the motion.
Phase Three: Post-Production
Post-production transforms raw footage into polished final product. Organised workflow prevents lost files, maintains quality and ensures efficient progression from rough cut through final delivery.
Data Management and Backup
Immediately backup footage to multiple locations upon completing shooting. Follow the 3-2-1 rule: three copies of data, on two different media types, with one copy offsite. Never format camera cards until footage exists in multiple locations.
Organise footage logically by shoot day, scene or subject. Create standardised folder structures maintained across projects. Use descriptive file names rather than generic camera-generated names. Catalogue footage using metadata including keywords, descriptions and ratings.
Assembly and Rough Cut
Begin editing by assembling select footage following script or shot list order. Focus on structure and pacing rather than perfect transitions and effects. The rough cut establishes narrative flow and identifies coverage gaps before fine-tuning begins.
Review rough cuts with fresh perspective after time away from the edit. Identify problematic pacing, unclear messaging and technical issues. Solicit feedback from trusted colleagues or clients at rough cut stage when changes require minimal effort.
Fine Cut and Detail Work
Refine the rough cut into fine cut through detailed attention to edit points, pacing and transitions. Every cut should serve a purpose, advancing narrative or providing essential information. Remove extraneous footage ruthlessly, keeping only what serves the story.
Add music, sound effects and graphics during fine cut phase. Music selection dramatically impacts emotional tone. Choose music appropriate to content and ensure proper licensing for intended distribution. Sound effects enhance realism and engagement when applied subtly.
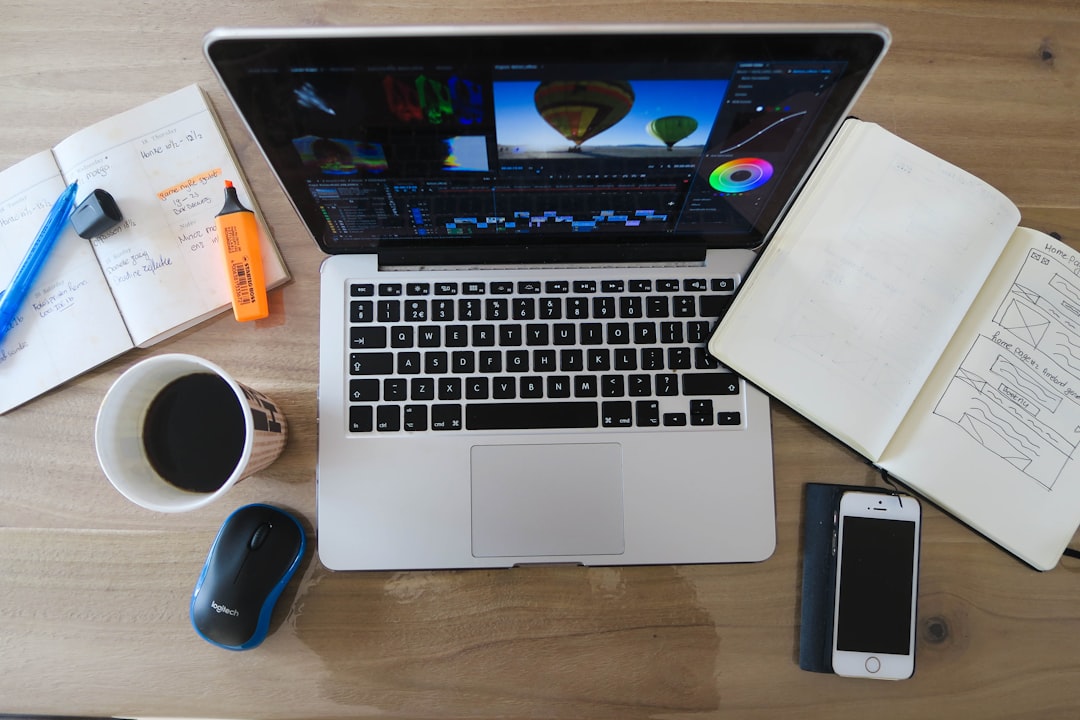
Colour Grading
Colour grading enhances visual aesthetics whilst ensuring consistency across shots. Begin with technical colour correction, balancing exposure and white balance across footage. Use scopes rather than relying solely on monitor appearance, as display calibration affects perceived colour.
Apply creative colour grading to establish visual style and mood. Develop look using primary colour wheels, curves and saturation controls. Apply secondary corrections to isolate and adjust specific colour ranges or image areas. Maintain skin tone accuracy whilst pursuing creative looks.
Audio Mixing and Sweetening
Professional audio mixing balances dialogue, music and sound effects whilst ensuring consistent levels throughout. Start by editing dialogue for clarity, removing breaths, ums and technical issues. Apply noise reduction carefully to remove background noise without affecting dialogue quality.
Balance dialogue at consistent level around -18dB to -12dB LUFS for web content. Mix music underneath dialogue, ducking levels when speech occurs. Add sound effects at appropriate levels to enhance realism without overwhelming the mix. Apply compression and EQ to polish final audio.
Phase Four: Delivery and Distribution
Export Settings for Different Platforms
Configure export settings matching intended distribution platform requirements. YouTube accepts high-quality uploads, allowing H.264 codec at high bitrates. Use 1920x1080 resolution for standard HD, 3840x2160 for 4K uploads. Maintain frame rate matching shooting format.
Social media platforms impose stricter requirements. Instagram supports various aspect ratios but compresses footage heavily. Export at platform maximum quality settings to survive compression. Create platform-specific versions with appropriate aspect ratios and durations rather than using one export for all platforms.
Quality Control and Final Review
Perform thorough quality control before delivery. Watch complete video checking for technical errors, audio issues and visual problems. Review on multiple devices including mobile phones, tablets and televisions. Issues invisible on editing monitors become obvious on client viewing devices.
Create detailed delivery notes specifying file format, resolution, codec and frame rate. Include colour space information for professional deliveries. Provide multiple formats if client requirements remain unclear, ensuring compatibility across various platforms.
Archive and Documentation
Archive complete projects including raw footage, project files, music, graphics and final exports. Store archives on reliable media with duplicates in separate locations. Label archives clearly with project name, date and contents. Well-organised archives enable future revisions without re-shooting.
Document workflow lessons learned, successful techniques and problematic approaches. This documentation improves future project efficiency and prevents repeating mistakes. Note equipment performance, crew recommendations and location suitability for future reference.
Conclusion
Professional video production workflow transforms creative vision into polished reality through systematic processes and attention to detail. Invest time in thorough pre-production planning to prevent expensive production mistakes. Execute production with technical precision whilst remaining creatively flexible. Apply organised post-production workflows that maintain quality whilst meeting deadlines. Master these fundamentals before seeking efficiency shortcuts, as professional workflow habits separate successful content creators from struggling amateurs. The discipline of systematic production workflow ultimately enables greater creativity by removing technical uncertainty and logistical chaos.